Using Vuejs with Parcel and p5.js
This is part two of a two part series. In part one I showed you how you can setup a project using parcel & TypeScript to create p5.js works. I recommend that you read part one first, especially if you’re following along.
Now we’re going to integrate p5.js within a Vue component. Using a framework like Vue will help you create more complex works with p5.js. You can handle application state in vue.js and do routing. I’ve used this in creating a site with multiple p5.js works in which the random seed & the selected palette id is updated in the URL so you can permalink to it.
First we start off with the same two files as before index.html and a index.ts but we need to make some changes. First add a new div to the index.html;
<html>
<body>
  <div id=“app”></div>
  <script src="./index.ts"></script>
</body>
</html>
Then rename index.ts to art.ts and update it like so;
import p5 from "p5";
const sketch = function(p: p5) {
const CELL_COUNT = 20;
const rect = (x: number, y: number, width: number, color: p5.Color) => {
const cellWidth = width / CELL_COUNT;
for (let col=0; col<CELL_COUNT; col++) {
for (let row=0; row<CELL_COUNT; row++) {
const alpha = p.noise(row, col) * 255;
color.setAlpha(alpha);
p.fill(color);
p.rect(x + cellWidth * row, y + cellWidth * col, cellWidth, cellWidth);
}
}
}
p.setup = function() {
p.createCanvas(420, 420);
p.noLoop();
p.noStroke();
};
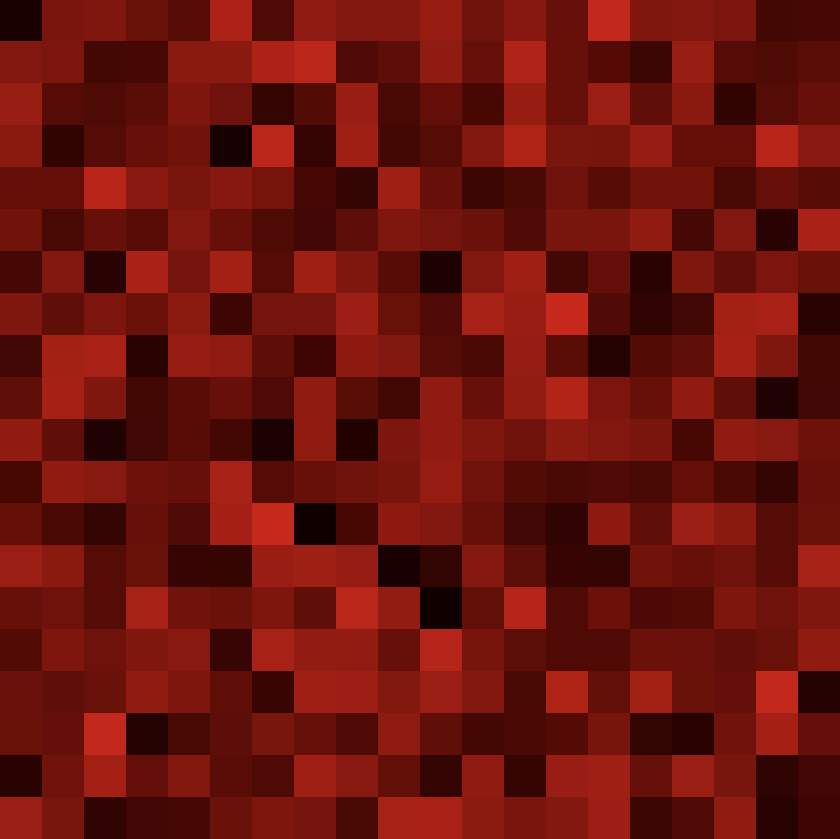
p.draw = function() {
p.background(0);
const color = p.color('red');
rect(0, 0, 420, color);
};
};
export const makeArt = (node: HTMLElement) => {
new p5(sketch, node);
}We’re exporting a new function makeArt that receives a DOM node (HTMLElement) which we pass to p5 along with the sketch function when instantiating. We will call makeArt in the Vue layer.
We have to recreate the index.ts.
import Vue from 'vue';

new Vue({
  render: createElement => createElement('h1', 'hello world')
}).$mount('#app');
You might need to restart the parcel development server via yarn run parcel index.html and you should notice that it will install Vue.
If you navigate to the URL that parcel prints out which is usually http://localhost:1234 you will see the page with the text hello world. Nothing fancy but it means things are working.
Now letscreate a component to help us wrap the p5.js code. Create a file named Art.vue next to index.ts;
<template>
  <div ref=“canvasOutlet”></div>
</template>

<script>
import Vue from "vue";
import { makeArt } from "./art.ts";

export default Vue.extend({
  mounted() {
    setTimeout(() => makeArt(this.$refs.canvasOutlet));
  }
});
</script>
This is creating a Vue component that just renders a div to be used as the DOM node to render the canvas into. We pass a reference to this all the way down to the p5 instantiation. This is done in the mounted lifecycle to make sure the DOM is completely rendered.
We’re not using this component just yet, so lets update index.ts and register the component. The updated file should look like this;
import Vue from 'vue';
import Art from './Art.vue';
new Vue({
render: createElement => createElement(Art)
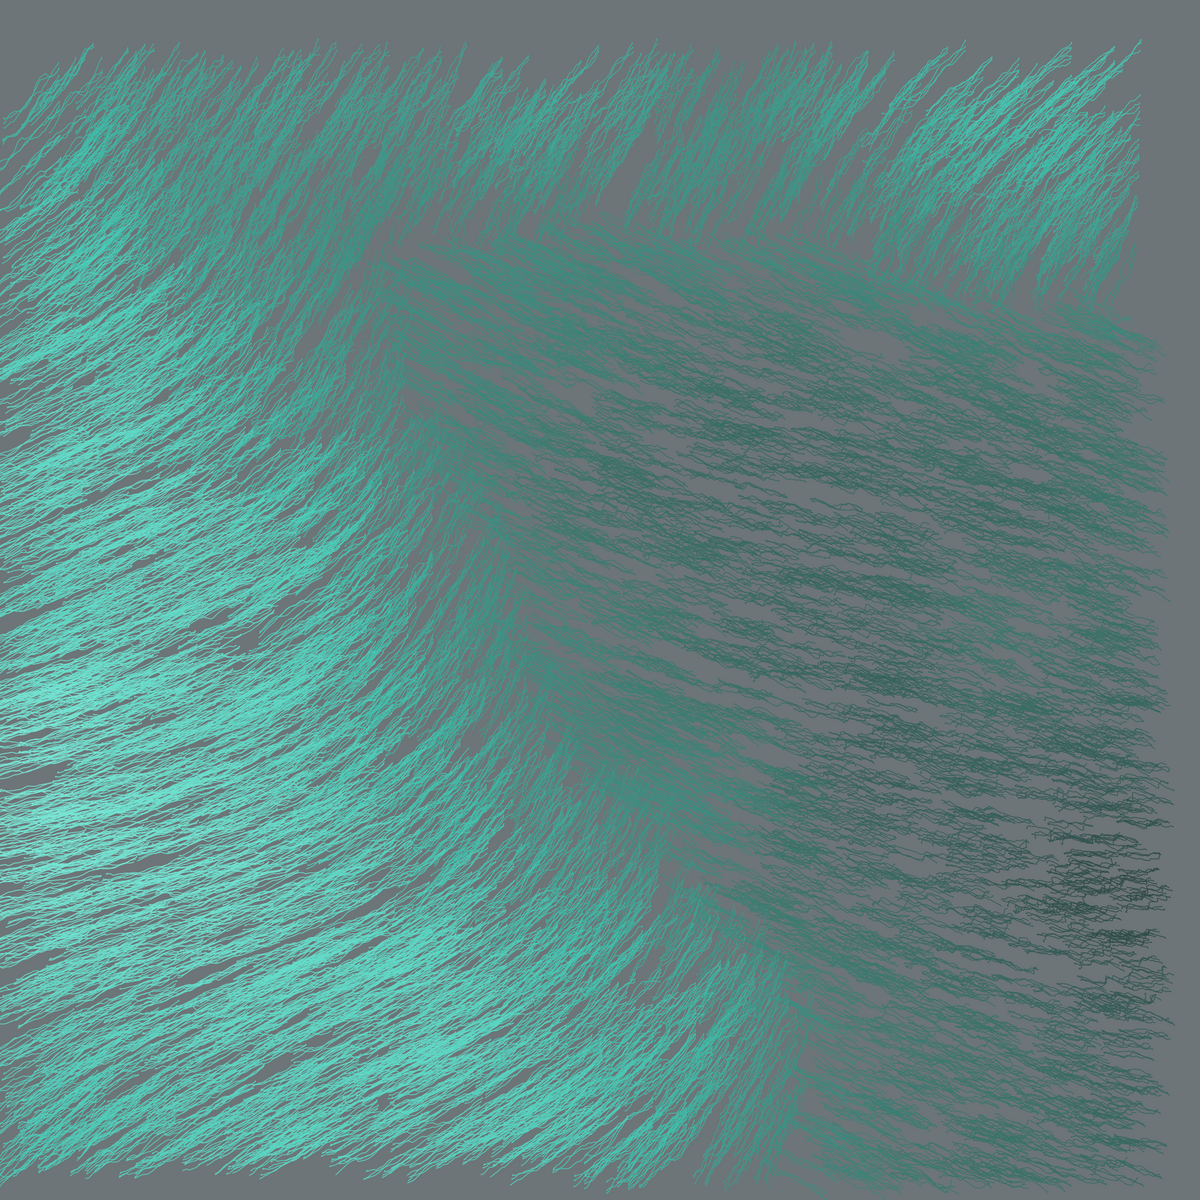
}).$mount('#app');Finally should see the following;
Thats all for this post. Hope this inspires you to experiment.
Thank you for reading.